
Microsoft CA can now issue certificates signed by Quantum-Resistant ECDSA Algorithm: Part 1 - Installing ADCS
Article in the Series
This article is part of a series. The other articles are:
- Microsoft CA can now issue certificates signed by Quantum-Resistant ECDSA Algorithm: Part 2 - Configure CA to select a custom Crypto Provider
- Microsoft CA can now issue certificates signed by Quantum-Resistant ECDSA Algorithm: Part 3 - Submitting CSR to CA
- Microsoft CA can now issue certificates signed by Quantum-Resistant ECDSA Algorithm: Part 4 - Issuing certificate signed with custom Crypto Provider
- Microsoft CA can now issue certificates signed by Quantum-Resistant ECDSA Algorithm: Bonus Part - Are signatures ECDSA compliant?
Introduction
Currently, Microsoft Certificate Authority (CA) supports issuing of digital certificates signed by various digital signature algorithms, for example: RSA and ECDSA. However, in order to be quantum-ready, digital certificates can and should be signed by a quantum-resistant digital signature algorithm. pQCee introduces the "Signature Pre-Image Proof" (SPP) Technology, which builds onto existing ECDSA signatures and protect signatures against quantum attacks. This series demonstrates how Microsoft CA can work with a custom cryptographic provider, which will provide an additional quantum-resistant SPP layer with ECDSA as the signing algorithm to be used for CA's signing operations, in order for CA to issue signed certificates.
Environment Setup
Ensure that you have the latest version of Windows Server (2022) and that you have administrative privileges on the server.
Overview of ADCS
In order to have access to CA, ADCS, a Windows Server role responsible for managing public key infrastructure, needs to be installed on Windows Server.
ADCS itself offers a few roles (features), of which include Certificate Authority (CA) role and Certificate Authority Web Enrollment role. These 2 roles are essential for the demonstration in this series as CA Web Enrollment allows the submission of CSR to the CA server through a web browser interface while CA manages certificate issuance and revocation.
Part 1 focuses mainly on installing these ADCS roles.
Installing ADCS roles on Windows Server
This section demonstrates how to install ADCS roles, CA and CA Web Enrollment on Windows Server.
On Windows Server, go to the Windows Search Bar and search for "Server Manager".
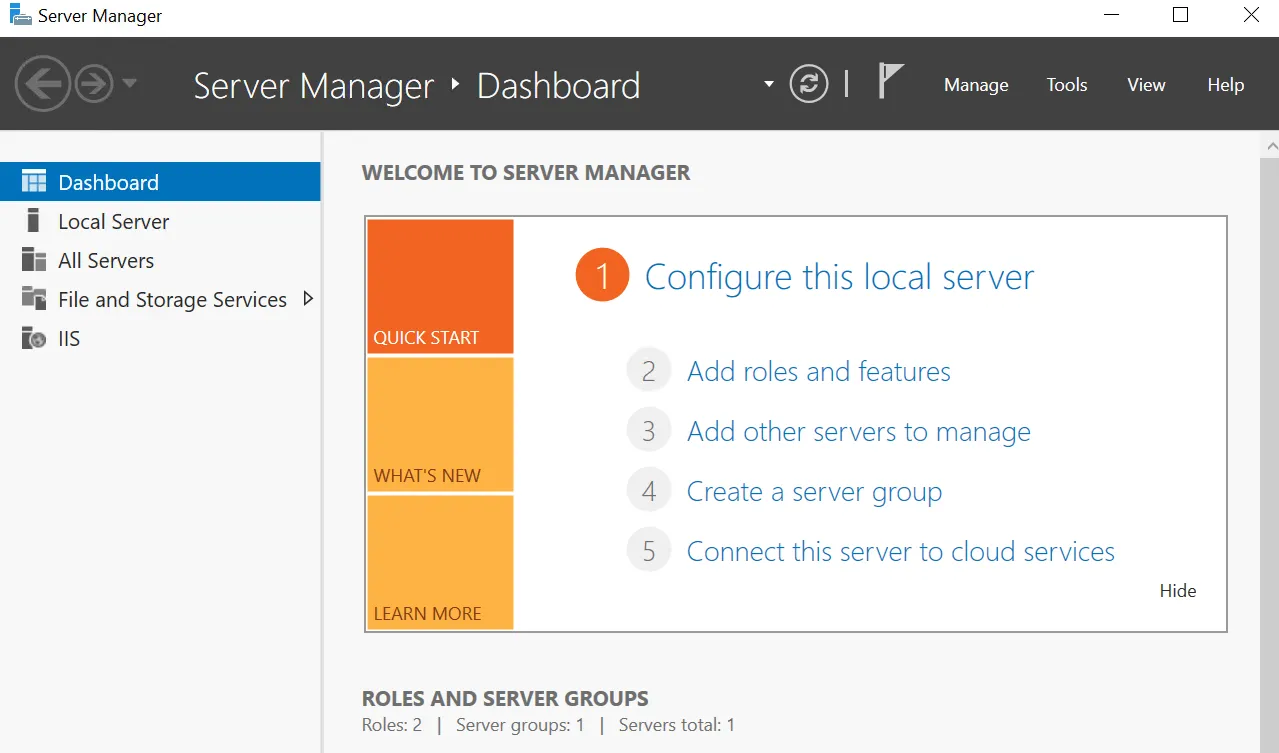
Click on "Manage" on the top right-hand corner.
Click on "Add Roles and Features". You should see a pop-up wizard.
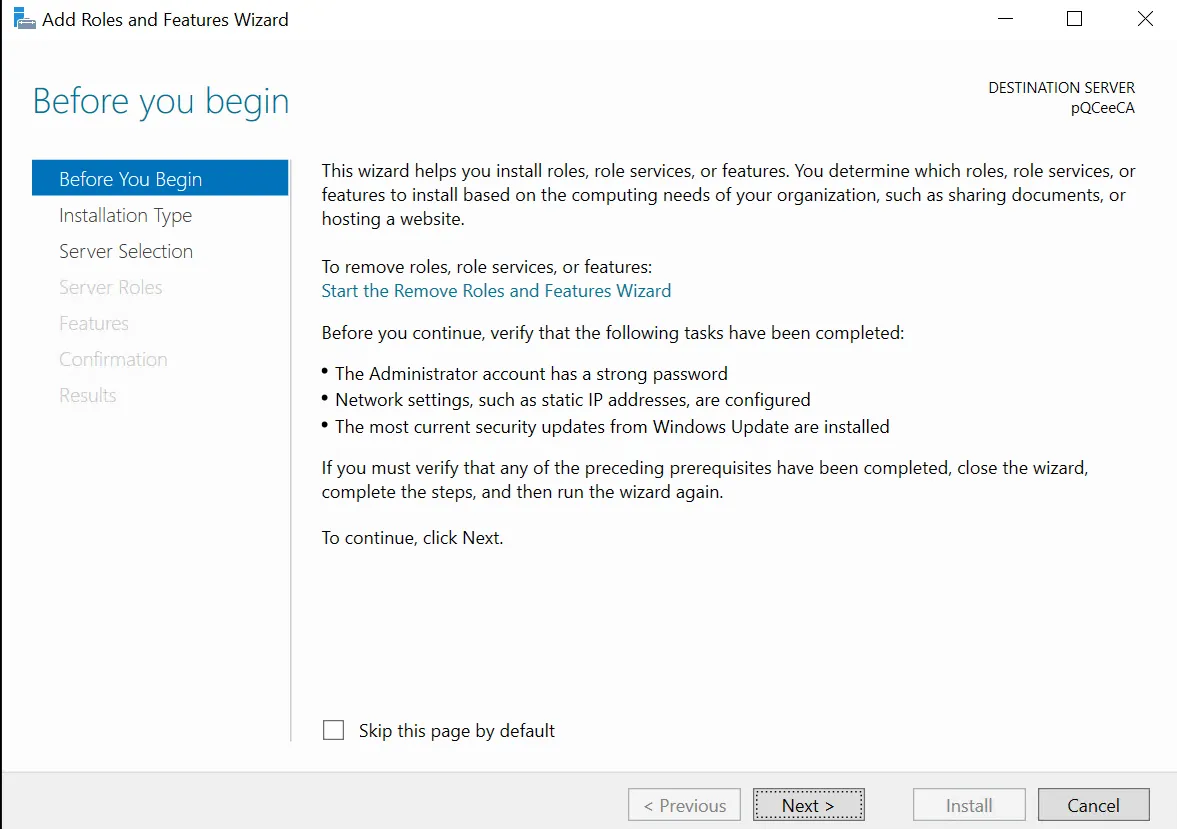
Click on "Next >" at the bottom right-hand corner and you will be prompted for Installation Type.
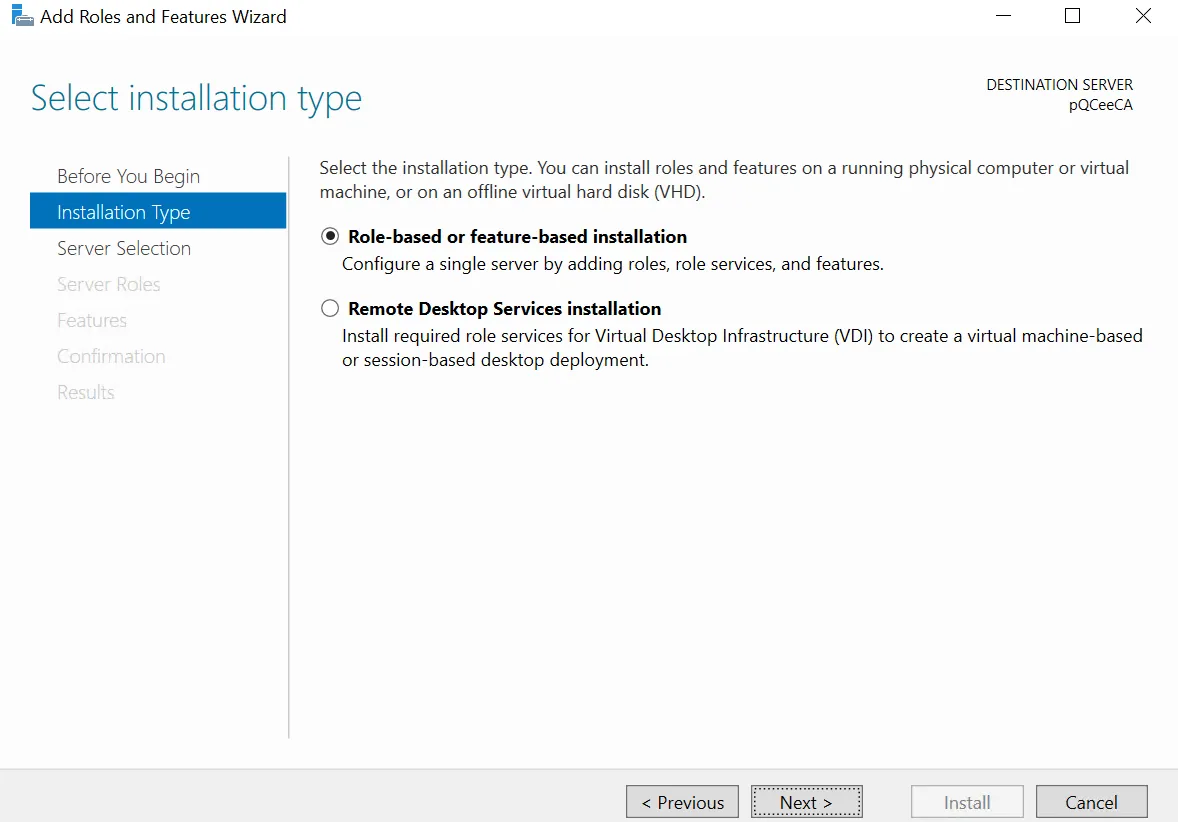
Choose "Role-based or feature-based installation" (installing ADCS roles on Windows Server) and click "Next >". You will then be prompted to select the server to install ADCS roles on.
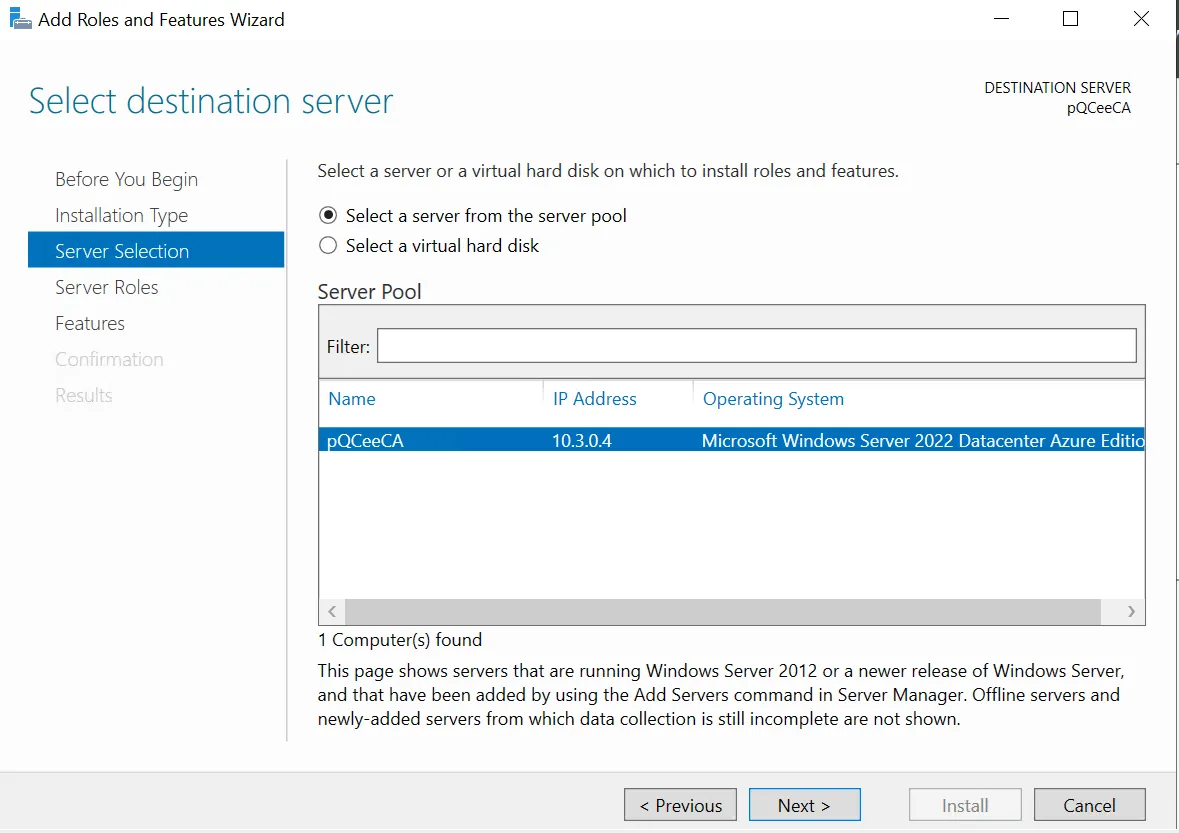
Select "Select a server from the server pool" to use the current server (Windows Server) and click "Next > ". You will be prompted to choose the Server Roles to install.
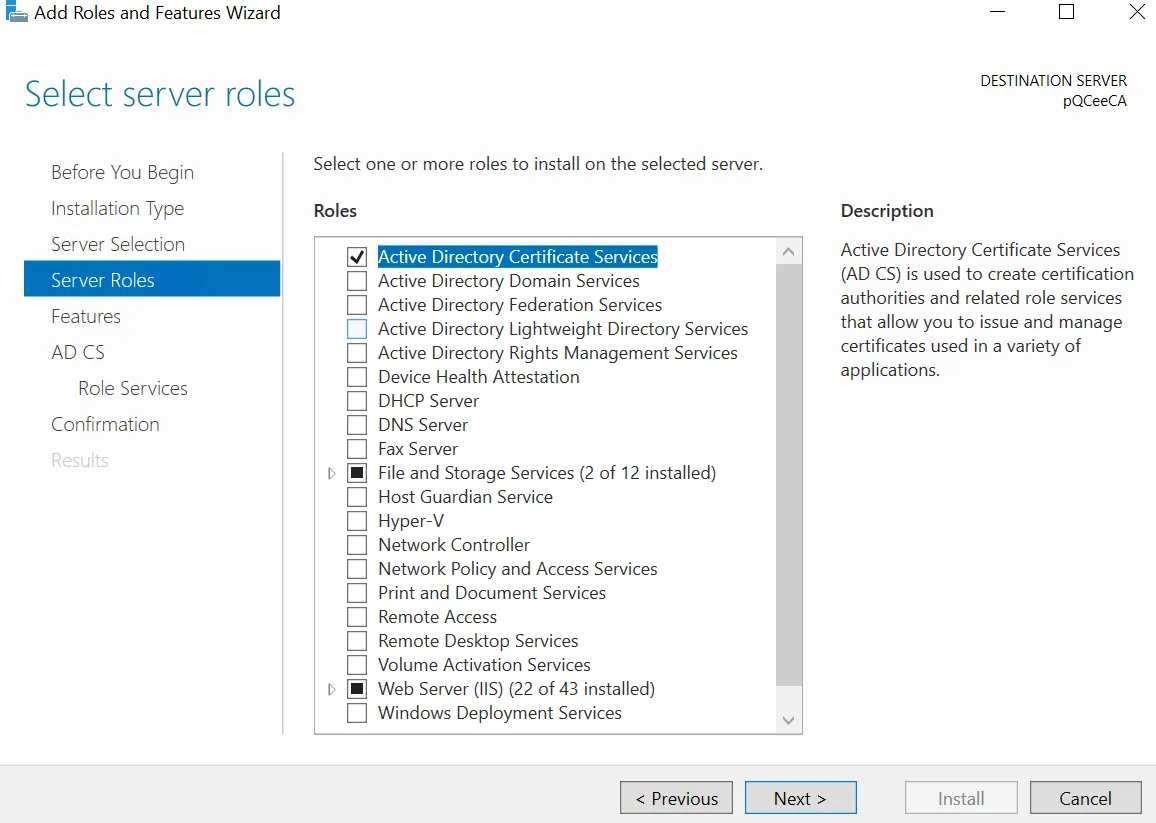
Select "Active Directory Certificate Services" to install ADCS roles. A pop-up wizard will appear, and you will be prompted to add features required for ADCS.
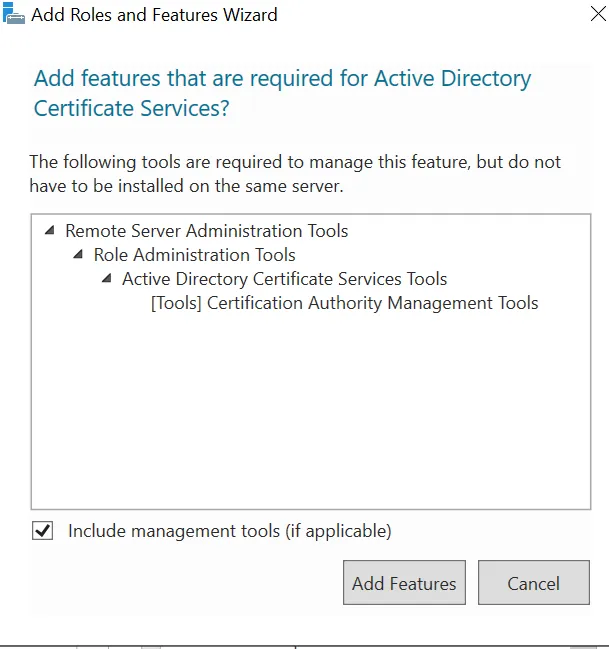
Select "Add Features". The Add Roles And Features Wizard will close. Click on "Next >" and you will be prompted to install additional features.
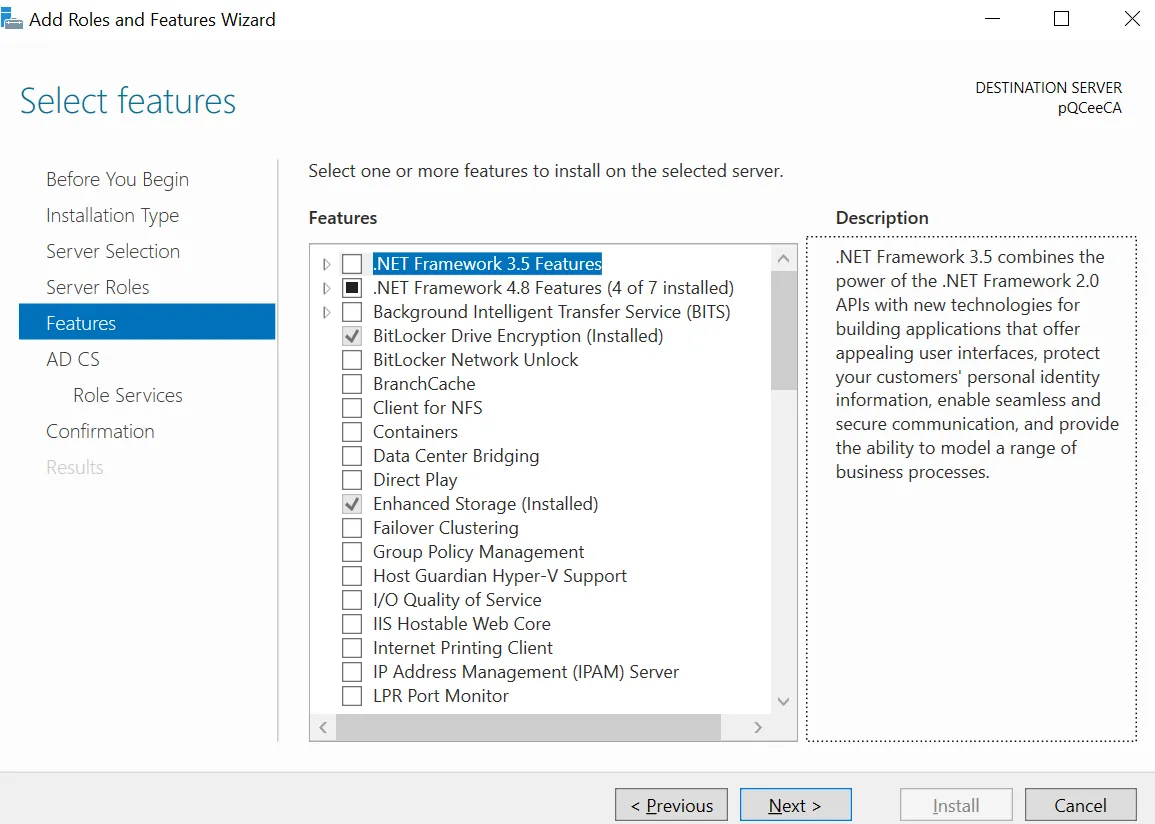
Click on "Next >" as there are no additional features required for installation. You will then move on to the "AD CS" section.
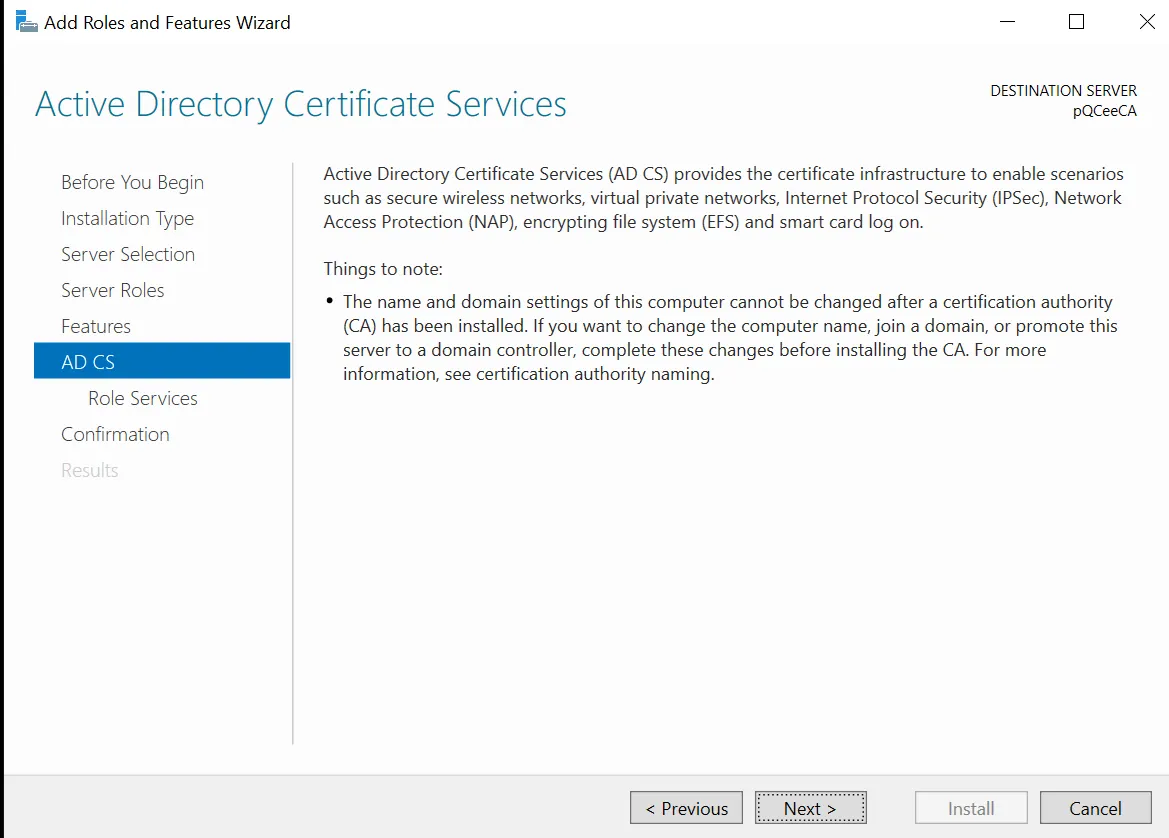
Click on "Next >" and you will be prompted the ADCS roles to install.
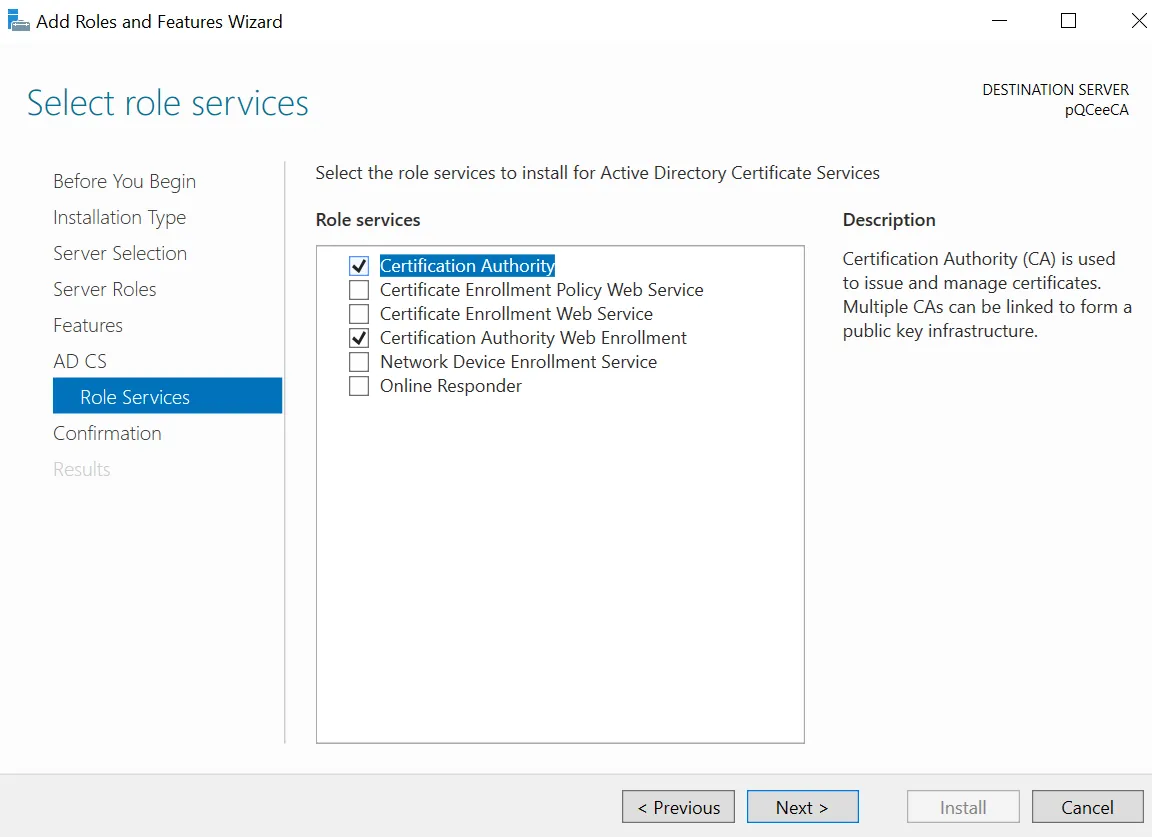
Select Certificate Authority and Certificate Authority Web Enrollment. Click "Next >" and you will be prompted to install the aforementioned roles. Click "Install". Upon successful installation, you should see a prompt to configure the ADCS roles.
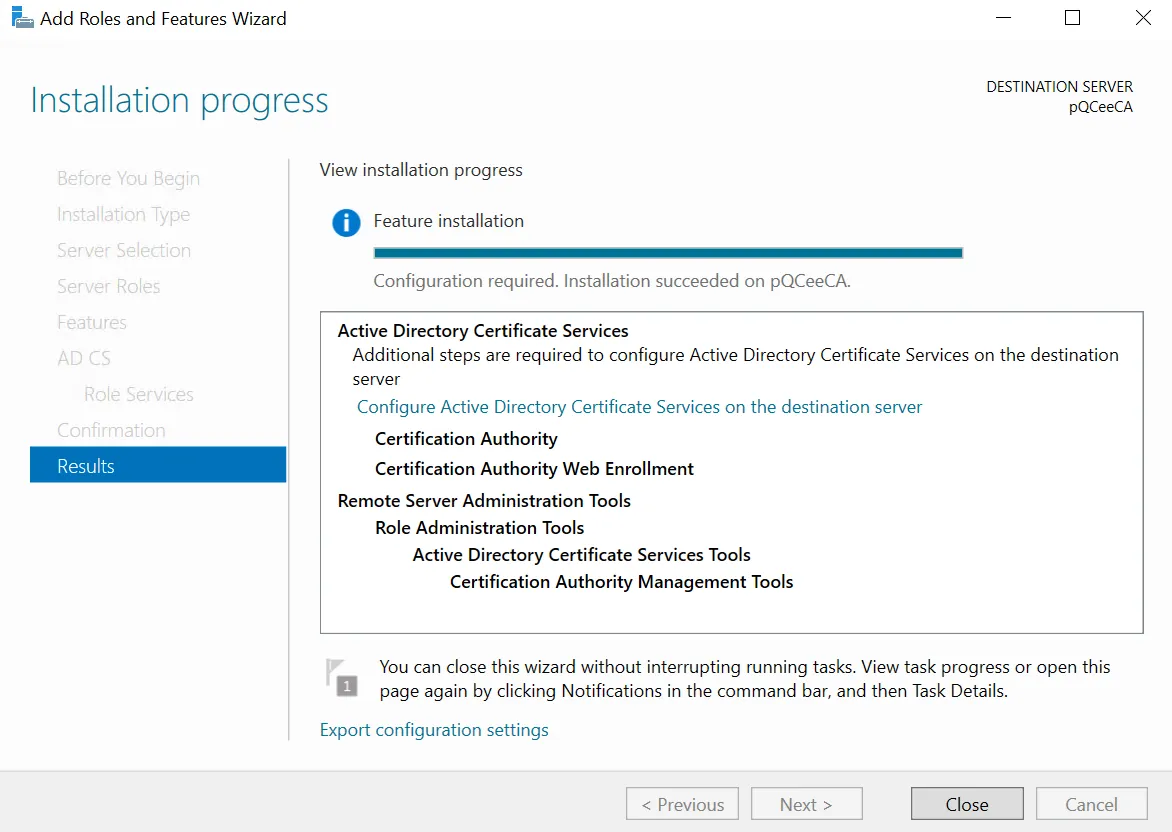
ADCS has been installed.
If you wish to follow up with the configuration of ADCS roles in Part 2 of this series, click "Configure Active Directory Certificate Services on the destination server" to configure. A new pop-up wizard will appear to prompt the configuration of ADCS roles. The configuration will be demonstrated in Part 2.
If you wish to verify whether ADCS has been successfully installed, but not yet configured, close the pop-up wizard by clicking "Close". Then go to Server Manager.
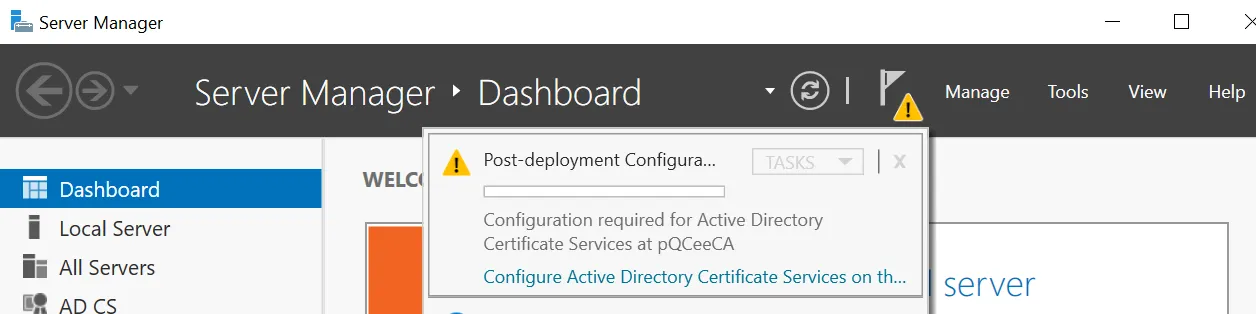
On the left-hand side, you should see "AD CS".
On the top right-hand corner, there should be a flag icon that prompts a warning sign. Clicking the icon will prompt the configuration of ADCS.
Conclusion
In Part 1, we learnt about the roles ADCS offer, namely CA and CA Web Enrollment. We have also gone through the installation steps for installing these roles on Windows Server.
In Part 2, we will learn the configuration steps of ADCS roles and how CA can work with pQCee's custom cryptographic provider. pQCee's custom cryptographic provider, pQCee Cryptographic Provider, supports CA in issuing certificates by providing an additional quantum-resistant SPP layer with ECDSA as the signing algorithm to be used for CA's signing operations, instead of the default cryptographic providers, which provides the conventional digital signature algorithms (RSA, ECDSA and etc).
Author
Cher Yue Yang
Yue Yang is an intern in pQCee. He marvels at how the cybersecurity landscape is shifting to a post-quantum era in the near future. He is excited to be part of the post-quantum movement before he begins his Computer Science degree.