Microsoft CA can now issue certificates signed by Quantum-Resistant ECDSA Algorithm: Bonus Part - Are signatures ECDSA compliant?
Article in the Series
This article is part of a series. The other articles are:
- Microsoft CA can now issue certificates signed by Quantum-Resistant ECDSA Algorithm: Part 1 - Installing ADCS
- Microsoft CA can now issue certificates signed by Quantum-Resistant ECDSA Algorithm: Part 2 - Configure CA to select a custom Crypto Provider
- Microsoft CA can now issue certificates signed by Quantum-Resistant ECDSA Algorithm: Part 3 - Submitting CSR to CA
- Microsoft CA can now issue certificates signed by Quantum-Resistant ECDSA Algorithm: Part 4 - Issuing certificate signed by with custom Crypto Provider
Introduction
Recall that:
- in Part 1, we have learnt the installation steps of ADCS roles (CA and CA Web Enrollment).
- in Part 2, we have learnt the configuration steps of the ADCS roles installed. Most importantly, we have configured CA to select pQCee Cryptographic Provider as the cryptographic provider.
- in Part 3, we have learnt how to submit a CSR as a client on the Windows Server to the CA by using the CA Web Enrollment role to simulate the process of issuing a signed certificate.
- in Part 4, we have learnt how to approve the CSR and issue the signed certificate as a CA's server administrator.
This article is a Bonus Part in this series to cover important queries that readers may have in mind after reading Part 4. I will show that the signature is still ECDSA compliant by verifying the signature using a verification tool that is widely used. This will justify that the signature is still a conventional ECDSA signature. I will make use of an OpenSSL command line for verification.
Additionally, in the previous articles, because the certificate was issued by the Standalone Root CA, hence, I will demonstrate verification of the issued certificate against the Standalone Root CA.
Environment Setup:
Ensure that
- you are an administrator of the CA's server and have access to both the issued certificate and the Root CA certificate.
- you have a recent version of OpenSSL installed on the server. I am using Win64 OpenSSL v3.3.
- you have exported both the issued certificate and the Root CA certificate to .cer files into the same directory as your OpenSSL executable. The directory that contains my openssl.exe is C:\Program Files\OpenSSL-Win64\bin. Therefore, I will be exporting the certificate files into this directory. This is demonstrated in the next 2 sections of the article.
Exporting the issued certificate to files
Open "Certificate Authority" application, go to "Issued Certificates". Double click on the certificate to verify, go to "Details". Select "Copy to File".
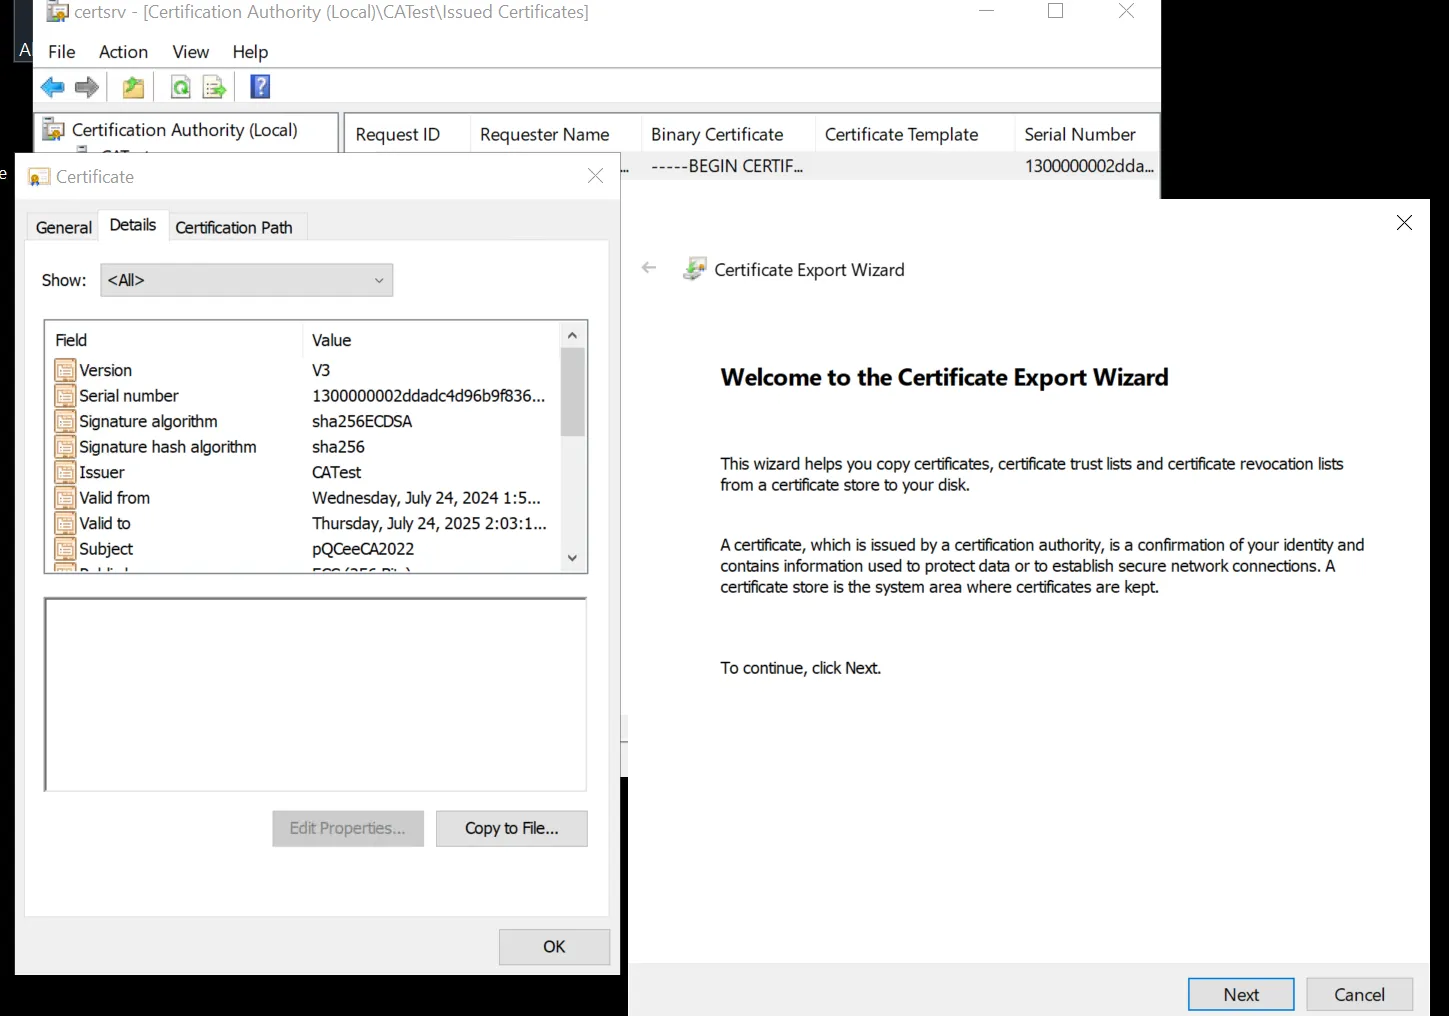
Select "Next" on the Certificate Export Wizard.
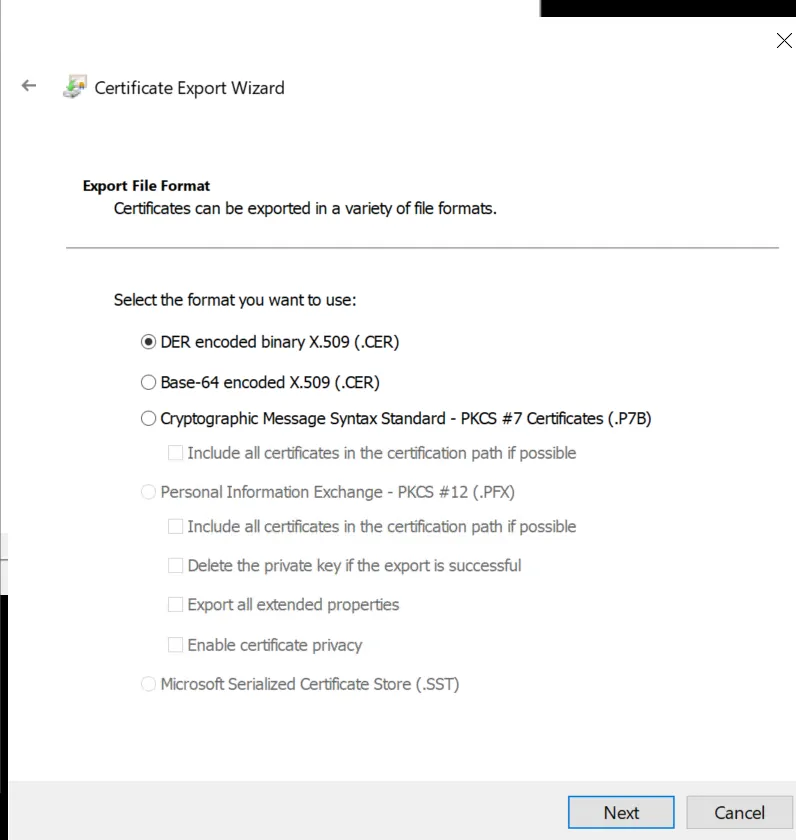
Select "DER encoded binary X.509 (.CER)" and click "Next". You will be prompted to choose the directory to export to.
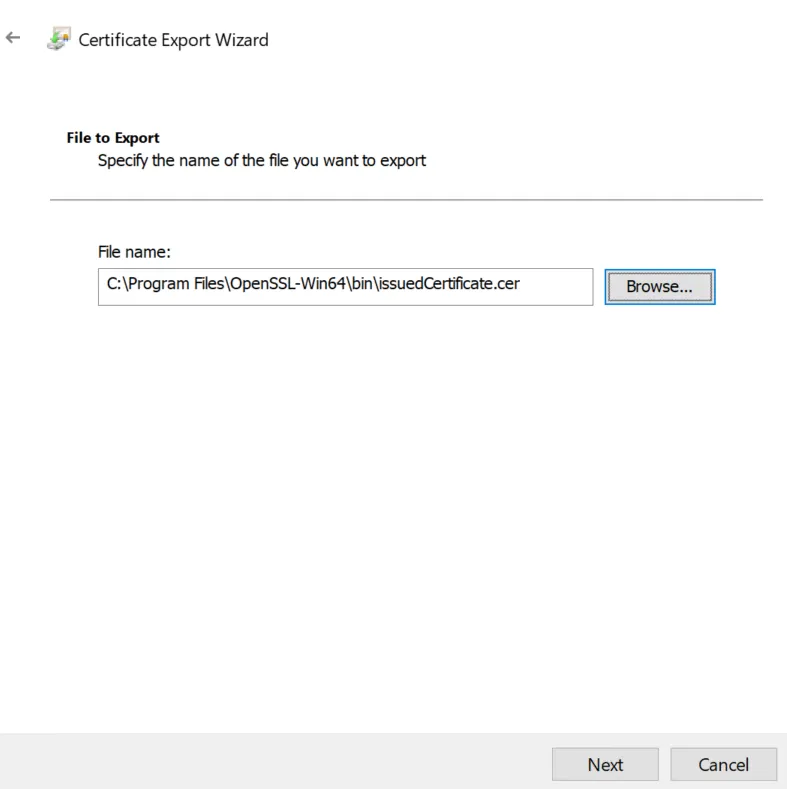
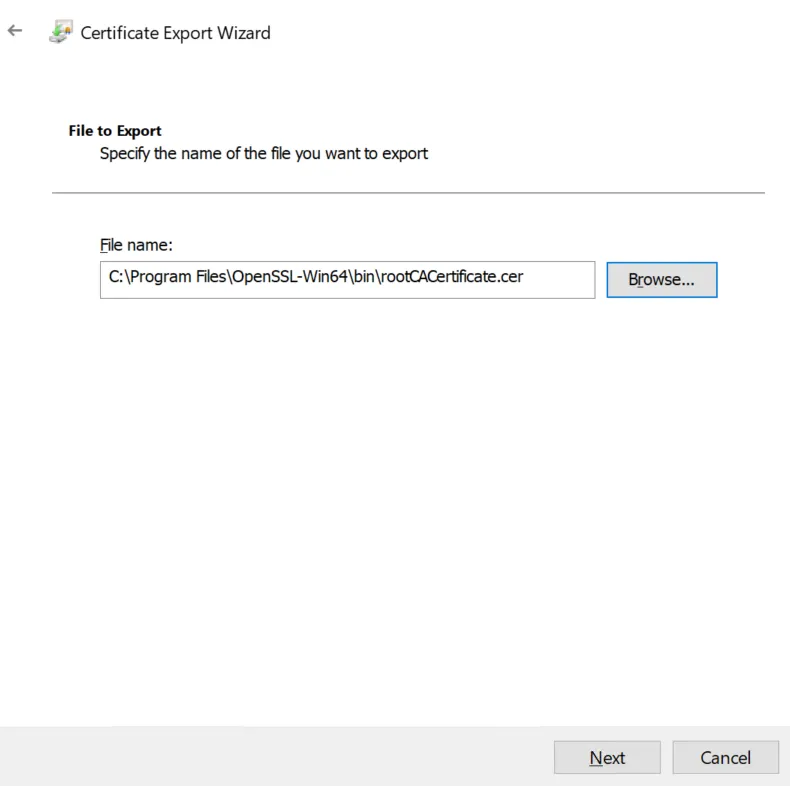
Choose the directory with your OpenSSL executable. Click "Next" after you are done.
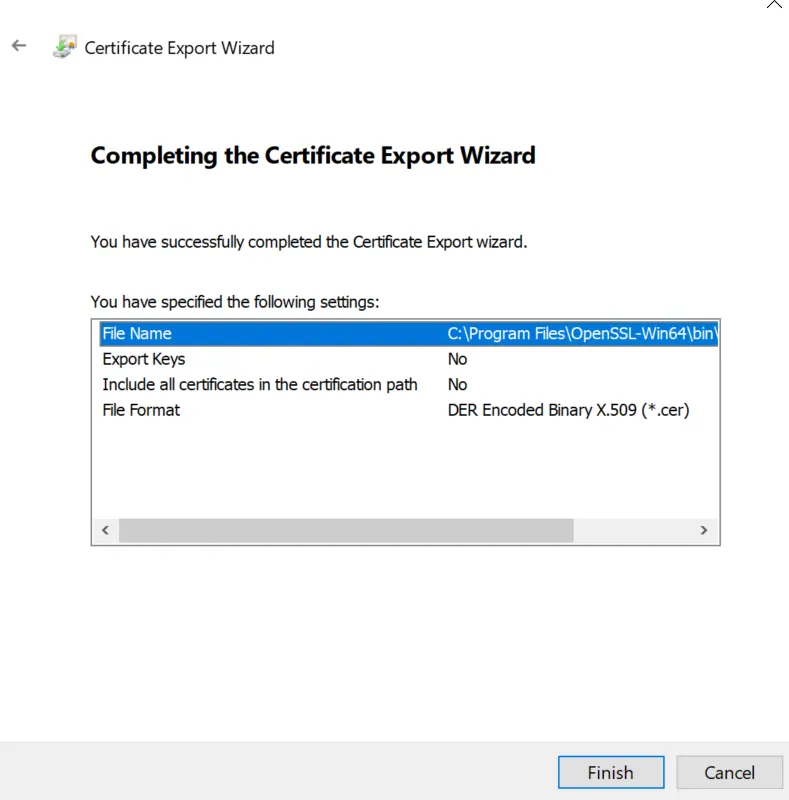
Click "Finish".
Exporting the Root CA certificate to files
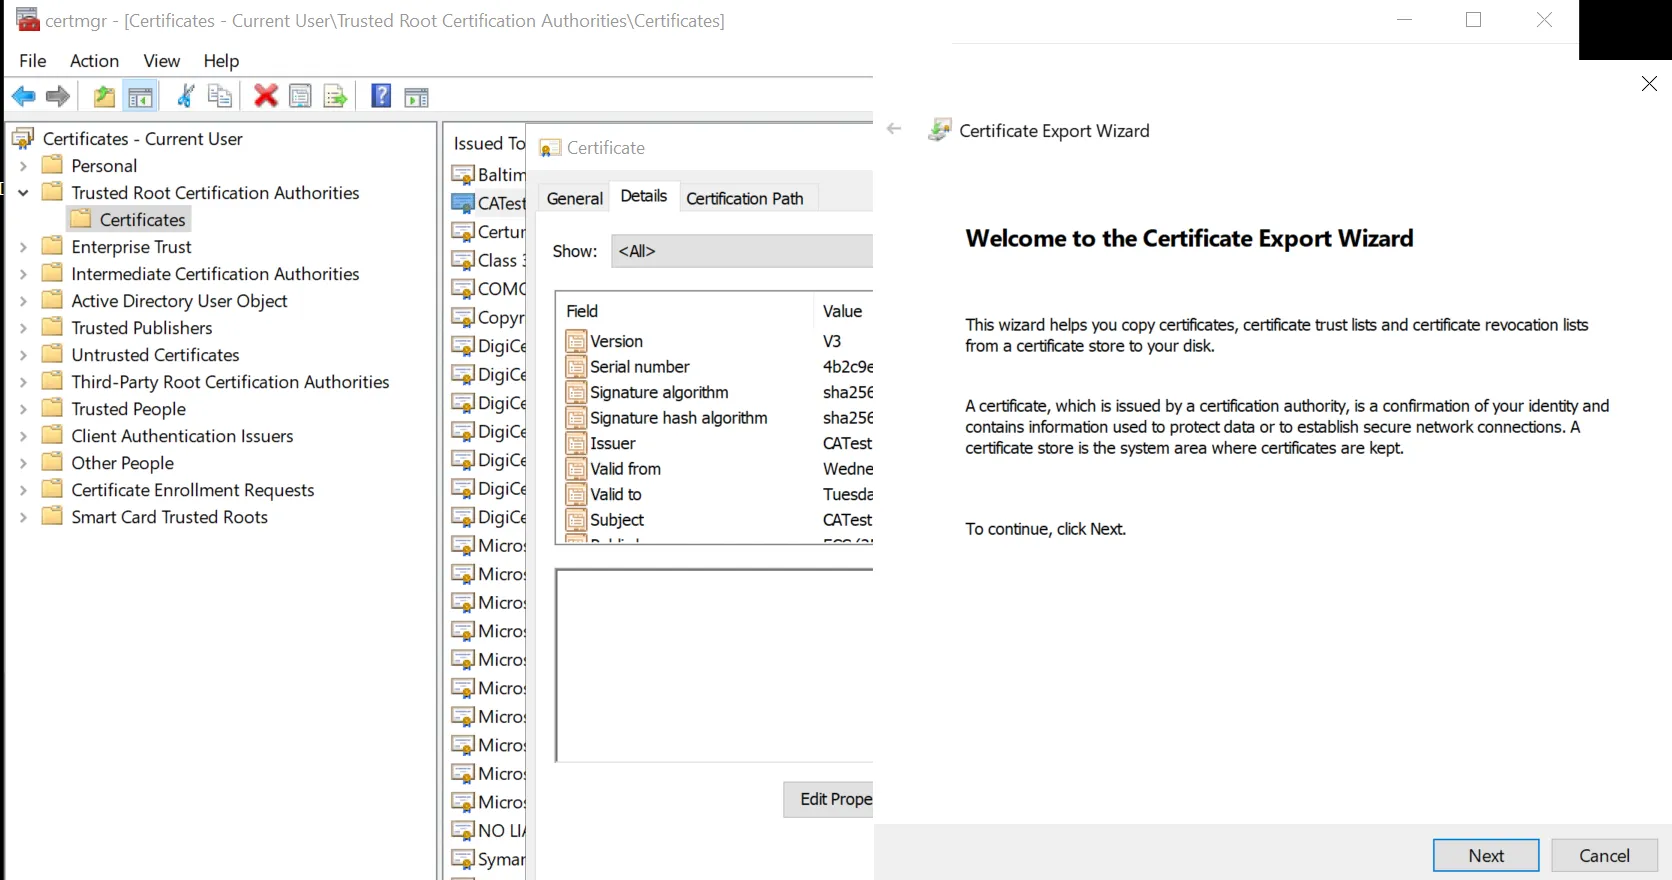
Using your Windows search bar, search and open the certificate store, "certmgr.msc". Go to "Trusted Root Certificate Authorities", go to "Certificates". Double click on your Root CA certificate, go to "Details", click on "Copy to Files".
Repeat the same steps to export the Root CA certificate to a .cer file into same directory as your OpenSSL Executable.
Click on "Next". Then, click on "Finish".
You have now exported both the issued certificate and the Root CA certificate to .cer files. These files should be in the same directory (C:\Program Files\OpenSSL-Win64\bin) as your OpenSSL executable (openssl.exe).

Verification
Open Command Prompt in administrator mode and navigate to the directory (C:\Program Files\OpenSSL-Win64\bin) that contains your certificate files and openssl.exe using the cd command.
Run openssl verify -CAfile <RootCACert.cer> <IssuedCertificate.cer> and replace RootCACert.cer> with the name of your root CA certificate file and <IssuedCertificate.cer> with the name of your issued certificate file.

You should see "OK".
The issued certificate has been verified.
Conclusion
In this Bonus Part of the series, we have verified that the issued certificate has a valid signature. Through this verification, I have proven that the signature is indeed ECDSA compliant. As such, configuring the Standalone Root CA to select pQCee Cryptographic Provider will provide the same functionality and compliance standard - the CA can issue signed certificates, the signature is compliant to ECDSA standards, and the signature can be verified. Yet, what has changed is that the certificate signed through pQCee Cryptographic Provider now has a quantum-resistant digital signature.
This may be a small step towards quantum-readiness; however, it signifies pQCee’s commitment to a secure post-quantum future.
Author
Cher Yue Yang
Yue Yang is an intern in pQCee. He marvels at how the cybersecurity landscape is shifting to a post-quantum era in the near future. He is excited to be part of the post-quantum movement before he begins his Computer Science degree.